A friend was musing that children these days learn to use chopsticks before
they learn to tie their shoelaces. It’s true: a Chinese takeaway, sushi snacks,
eating at Yo Sushi or Wagamama all give them the opportunity to practise their
chopstick skills while shoes for the under 10s do all seem to do up with Velcro.
But if
kids are all savvy enough to know their bok choy from their mustard greens in a Chinese restaurant or in the supermarket,
there is still comparatively little being grown in our gardens. In many parts
of China, Korea and Japan the climate is comparable to ours, so there’s no
reason why we shouldn’t be raising our own oriental vegetables. Most
supermarket pak choi, for instance, does come from the UK, but you still don’t
see it being grown very often in the vegetable patch. We seem to prefer to
stick to lettuce and the more traditional kind of cabbage. Which is a shame
because these Eastern brassicas are fantastically rewarding crops to grow:
- They’re quick. At this time of
year they’ll germinate in three days and be ready to eat in a month.
- They’re unfussy: you can sow
and grow oriental greens just about any time of year. In fact they grow better
from midsummer onwards as the days get shorter. If you have a polytunnel or a greenhouse you can keep them going overwinter – most are reasonably
hardy.
- They’re versatile. You can
harvest oriental leaves at just about every stage of growth. As microleaves for
a garnish after about two weeks. As cut and come again leaves in a salad or in
a stir fry. As a vegetable in their own right when the whole plant is cut. The
younger the plant when you harvest it, the more delicate the flavour.
- They’ll grow anywhere. In the
open ground, if you have it. In pots, in troughs, on windowsills, or patios. They don't need a vast amount of space.
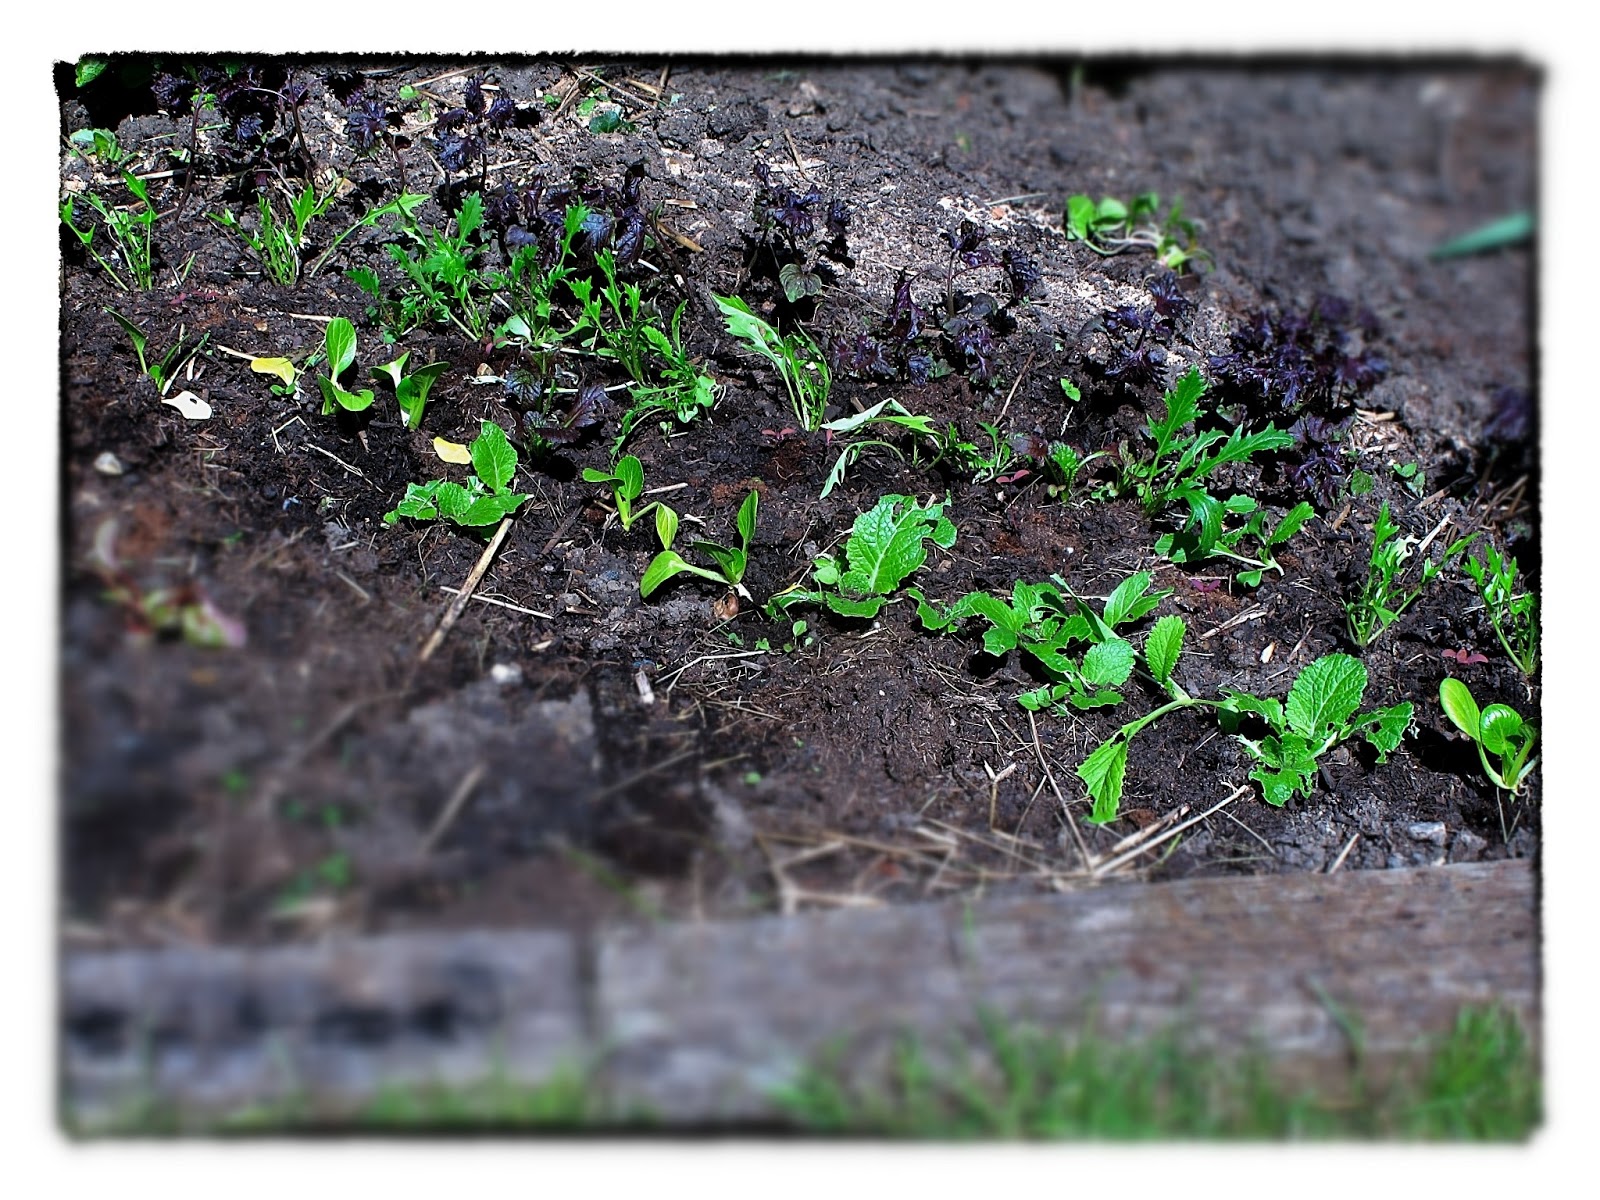
At our Secret Garden Club afternoon discussing oriental vegetables, we showed leafy greens being grown a microleaves, in pots and troughs, and out in the open ground in the garden. By successional sowing, that is, sowing little and often, we can
have leaves available for crunchy salads pretty much 365 days a year.
Types
to try:
Mizuna
Mizuna
is a brassica with bright green serrated leaves. It’s often used in salads, where
it adds a slightly chewy texture and a bit of bite. I actually think a little
mizuna in a salad goes a long way; I prefer to eat it either as microleaves, or
as a whole plant, pak choi style, in a stir fry.
It’s
easy to see why mizuna is popular though: it’s probably the easiest salad
vegetable to grow anywhere. It will grow in most soils, at most temperatures.
It’s hardy and vigorous.
Mustard
Also known as red mustard, red giant mustard, Chinese red mustard, mustard
green or several other names. This is a pungent, peppery-hot leaf, oval-shaped
with a serrated edge and coloured green streaked with purple. You may have also
heard of Green in Snow, a lovely name, I think, for a particularly pungent
mustard leaf.
Pak
choi
If you
look on the package label, you’ll see that nearly all pak choi sold in
supermarkets is grown here in the UK. Pak choi grows exceptionally well: like
mizuna, any time of year will do, though if you’re sowing in winter, a
greenhouse or polytunnel will be needed or growth will be very slow.
The
only drawback to pak choi is that I think it is the slug and snail’s favourite food. Well, possibly second favourite to hostas. Wherever you grow them
they will need slug protection – we tend to use copper rings around each plant
in the open ground, or copper tape around the rim of a pot.
Choy
sum
Related
to pak choi but with slimmer leaves and – I think – a less distinctive taste.
Morning
glory
Also
known as water spinach, this is an edible variety, Ipomoea aquatica, from the Ipomoea family, which also includes
sweet potatoes (Ipomoea batatas). Common bindweed is also a relative. There are edible and non-edible morning glory
varieties. As the alternative name water spinach suggests, it likes to grow
near water, and can become quite invasive – there are controls over the
growth of morning glory in many US states for instance.
 Chinese
broccoli, kailans
Chinese
broccoli, kailans
If I
had to pick a favourite from this list, it would be kailans (left). This is a type of
broccoli where the stem is the interesting bit and a floret a bit of an
afterthought. The stem is crunchy, and has a nutty, mustardy taste. You can
also eat the leaves.
Grow
kailans in rich soil, with lots of organic matter. The plants will grow quite
big and may need support. When you cut the main stem to eat, it will grow
again, so that in a season you will get 3-4 cuttings from one plant.
They
are not quite so prey to slugs and snails as pak choi, above, but we still take
precautions. I’d be much more upset about losing a Chinese broccoli plant to a slug
attack than I would a pak choi or two.
Chinese
cabbage
The
Chinese cabbage you buy in the shops is only one type; there are plenty others,
such as Tatsoi,which grows as a low rosette of dark green leaves rather than the firm-headed,
pale yellow-green variety we’re all familiar with.
Komatsuna
Dark
green fleshy leaves, ideal for making a salad seem substantial, also good in
stir fries. Another easy one to grow, unfussy about soil and temperature.
Perilla (shiso)
This
is a leaf more associated with Japan: you frequently find this heart-shaped, frilled-edged
leaves garnishing sushi – or quite often, a plastic imitation shiso leaf in the
bottom of your pre-packaged sushi.
Shiso
leaves can be green (we have a couple of green plants here) or red. They have a
slightly chewy texture and faintly minty taste.
Let’s
look in detail at how you might grow these greens in a variety of ways.
Growing in the open ground
Although
our oriental veg will grow very happily out in the vegetable bed, not all
varieties want to start there. Mizuna, mustard, komatsuna and tatsoi will all
germinate and grow very readily if sown direct into the spot where they are to
grow. Kailans will do in theory but I have always found it easier to start
kailans in modules and then transplant them when the weather warms up. The same
with shiso.
It’s worth taking the time to prepare your ground. Weed it,
remove stones, dig in compost, organic matter, or manure if you have it. Think
of it as making a nice soft bed for them to grow in.
Sow as
thinly as possible: you will only have to thin out seedlings later if you don’t
… though when you do thin them, don’t forget to wash and/or trim the thinnings and
add them to a salad as well. The other way to do it is to station-sow: make a
little hole every four inches or so, drop one seed down that hole and fill, thus
determining exactly where each plant is to grow.
Remember
your slug protection before the seedlings germinate, or you may never see
them at all. When the seedlings are tiny, they will need watering until the
plants are established.
If the
soil is nutrient-rich you shouldn’t have to feed the plants – you’ll be picking
them before too long. If you think they would benefit from a feed, choose a
nitrogen rich solution: nitrogen promotes leafy growth, and good leafy growth
is what you want from these particular vegetables.
Growing in a pot
There
are advantages to growing in a pot. Slug and snail control is easier: you can
move the pot away from the pests, or run copper tape around the rim of the pot.
You can control the growing environment: the temperature, the exposure to wind,
how much water they get, and so on.
If
you’re growing in order to pick cut-and-come-again leaves rather than whole
plants, I’d say a pot is probably the best way to do it. It’s only when you
think of growing a full-size plant – pak choi, says – and you realise you’ll
need a very big pot to accommodate the plants and all their roots.
My
solution here is to grow in a trough rather than a pot. More convenient for
windowsills, anyway, and it seems to give the individual plants more room.
You
can either sow your seeds in the pot directly, for salad leaves, or sow seeds
in modules and transfer the plants. From March to September, the pot will be
happy outside. In March, it might need some protection at night: put some horticultural
fleece, or drape some bubble wrap or fit a clear plastic lid over the pot.
Although many of the plants named here are hardy, they won’t grow fast in the
cold.
In
autumn and winter, move your pot into a polytunnel, greenhouse, or inside
altogether. I have successfully raised pak choi indoors overwinter, although it
does take much longer to grow. It’s not so much the cold that bothers them, as they can stay nice
and warm indoors, it’s the low light levels of winter.
If
your pots are indoors, you shouldn’t have to worry about slugs, snails or flea
beetles. Look out for aphids, though, especially when it warms up in spring.
They can get everywhere.
Dealing with pests
Most
of these oriental vegetables are brassicas. That means they are vulnerable
to the usual cabbage pests: cabbage white butterflies, whitefly, and also
disorders such as clubroot.
However, here’s another thing in the oriental veg’s
favour: they tend not to be in the ground for long enough to be too bothered by
these pests. By the time the pest finds them, you’ll be picking them.
They’re
not entirely pest-free though. You’ll see we’ve had slug damage on the Chinese
cabbages. Or maybe it’s snail damage, since we’ve been using biological controls to get rid of our slugs. If you’re growing in a pot or trough, then a
line of copper tape along the rim of the pot should keep both slugs and snails
away. In the open ground it’s a bit more tricky. We’ve put copper rings round
the bigger plants, and we don’t really want to use pellets. If you don’t want
to go down the admittedly expensive route of biological control (but then we
did have a lot of slugs), try surrounding the plants with crushed eggshells,
grit, or set beer traps.
Mizuna
and mustard, particularly, also get eaten by flea beetles. You can tell flea beetle damage by
the tiny perfectly circular holes in the leaf.
We’re lucky here in the Secret Garden in that we’re not really affected
by flea beetles, but there's not much you can do about them except be thankful that the damage isn't usually bad enough to seriously reduce your crop. Some people recommend trying to catch the beetles by holding sticky tape under the plant so that when the beetles jump, they land on the tape, sticky side up, and get stuck. I'd say it's quite fun to watch people trying out this technique but it rarely seems to be very effective.
The
very young seedlings are also attractive to aphids. These can usually be wiped
off, or you can use a garlic solution spray to deter them.